Start with a clear idea
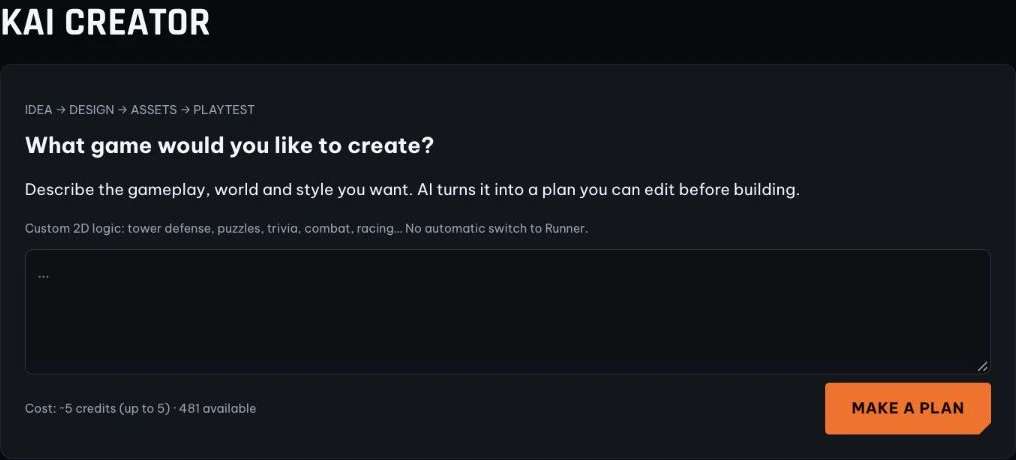
Sign in to Kai Creator. Describe your game directly, or start with the optional template settings. For your first game, choose one main mechanic and a short level; expand after it works well.
A useful prompt specifies genre, character, controls, objective, win/loss conditions and visual style. Say whether the character runs automatically or moves under player control.
Create a 2D platformer called Orange Cat Adventure. The hero is an orange cat wearing a teal scarf, in a pastel chibi style. Players move left and right, double jump, collect golden fish and avoid enemies. Include three levels with increasing difficulty; reaching the exit gate wins the level. Support a keyboard and mobile touch buttons.
Review the cost next to Make a plan before clicking it. This is a starting example, not a guarantee that every requirement will work perfectly on the first attempt.
Review the design before building
AI separates your idea into editable sections: pitch, gameplay, mechanics, controls, levels, characters, win/loss conditions and art direction.
- Gameplay: what does the player do each turn, and is the genre correct?
- Controls: which keys move, jump or attack? Are there touch controls?
- Levels: are goals, enemies and the exit clearly defined?
- Art: do camera angle, colors, characters and backgrounds belong together?
If a boss or double jump is missing, or the gameplay type is wrong, fix the form before building. If the plan is marked infeasible, reduce its scope or choose a suitable template instead of continuing just because the title looks right.
Choose library assets or generate new artwork
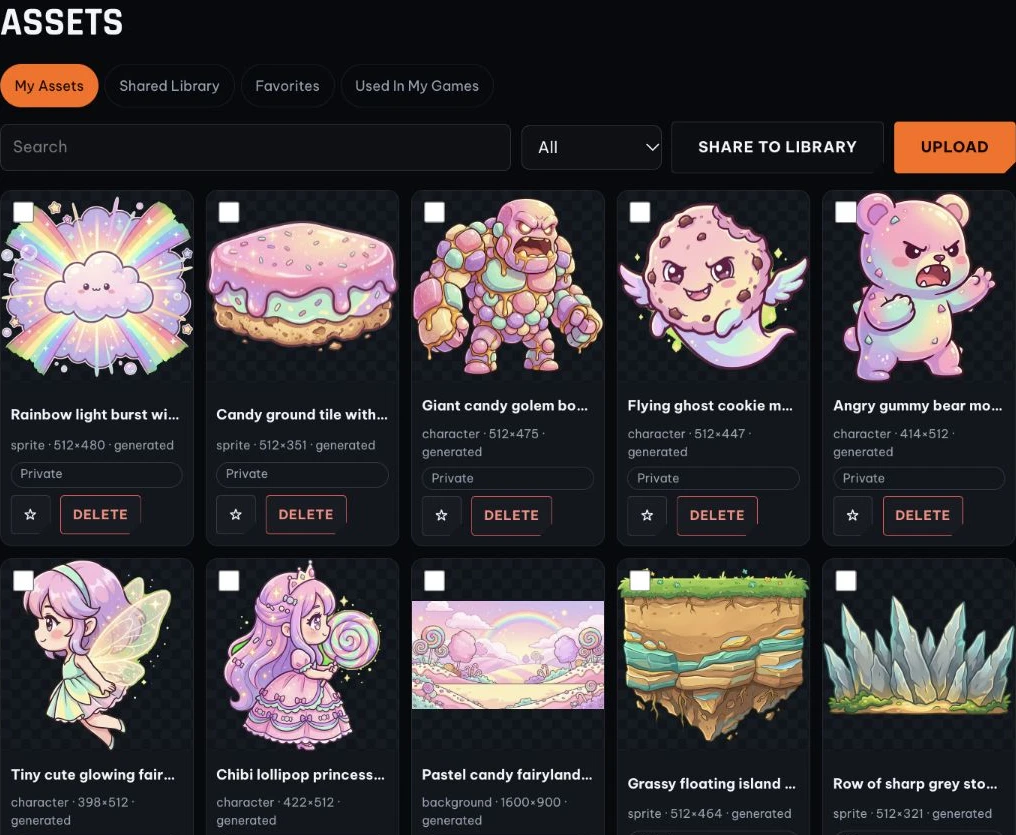
Assets are your game's resources: characters, backgrounds, enemies, collectibles, platforms, icons and effects. Check each role and description before selecting an image.
- Reuse artwork: search the library and select a suitable image. Other choices collapse after selection; use the change-image control to reopen them.
- Upload your own: use PNG, JPG or WebP and follow the displayed file limit. Only upload artwork you have permission to use.
- Generate with AI: describe the subject, view, style and background. Keep the same art direction across the set.
Reusing an image does not make all other AI steps free. Review the credit estimate for the next action.
Preview artwork and regenerate only what needs work
After choosing image sources, approve the credit limit and generate any pending artwork. Images may be processed in batches; wait for completion before continuing.
- Open the artwork preview during pre-build preparation.
- Check cropping, unwanted backgrounds, perspective, colors and consistency.
- If one image needs work, edit its description, review the regeneration cost and approve that image only.
- Review the new result and confirm that you have approved the artwork.
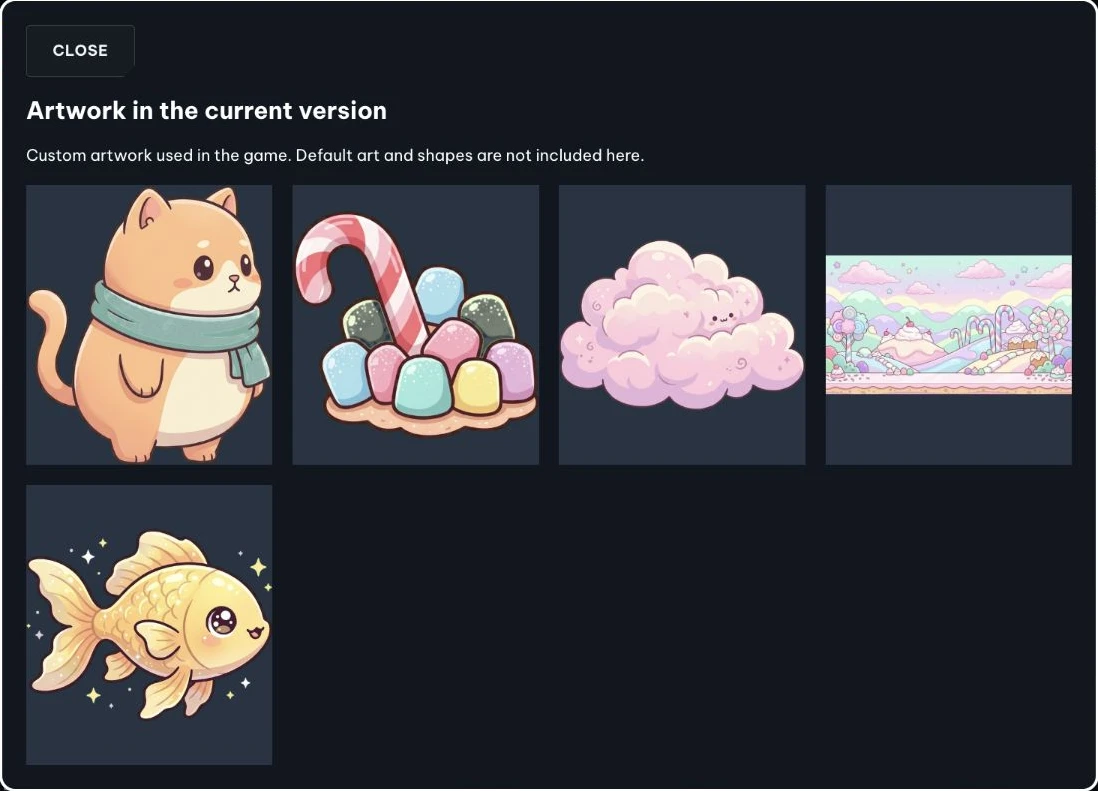
You do not need to regenerate the entire set. Note the distinction: the pre-build artwork preview offers individual regeneration; the existing game's artwork viewer shows images in the current version.
Approve the credit limit and build
Before selecting Build game, check that the design is feasible, required assets are ready, and you have approved both artwork and the credit limit.
If the button is disabled, check for missing approvals, pending images or a plan issue. Read the nearby message instead of clicking repeatedly.
Follow generation and automatic playtest progress. If a job fails, read the error and use the design-recovery option when offered. Keep the job ID for support. A failed build does not mean you need to regenerate every image.
Playtest like a real player
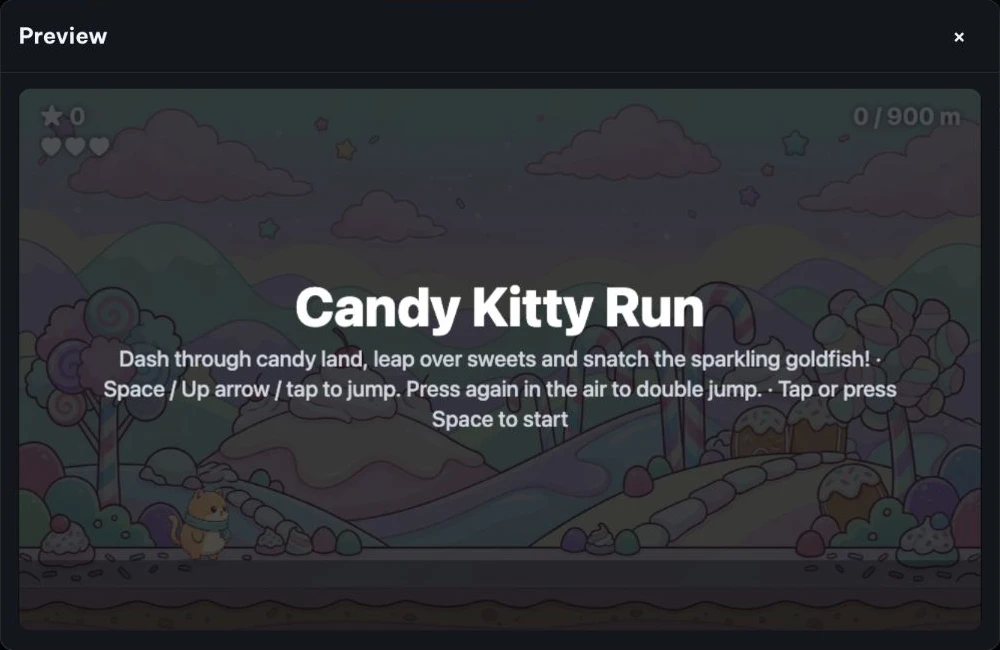
Open Preview and click inside the game to focus keyboard controls. Test both a win and a loss; automatic testing does not replace playing the game yourself.
- Do movement, jumps, skills and touch buttons work?
- Do enemies or obstacles cause damage, and do collectibles award points?
- Can the character get stuck, pass through objects or leave the screen?
- Can you reach the goal, finish the level and restart?
- Are text, artwork and controls readable on a phone?
If Space scrolls the page, click inside the play area and try again. If it persists, record the browser, device and action that triggers it when requesting a fix.
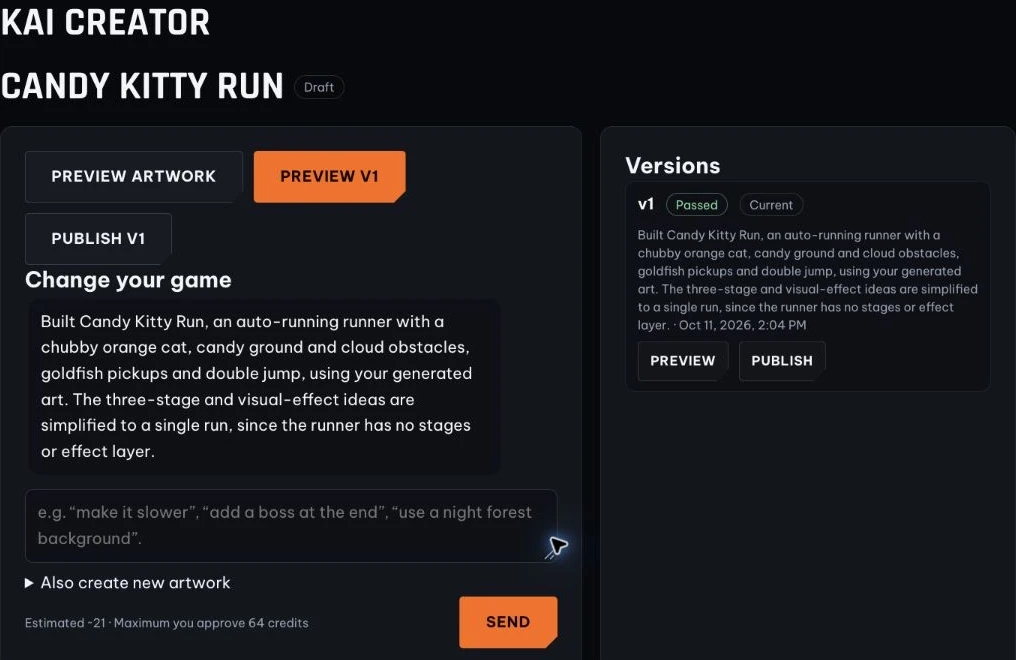
Make focused changes and check versions
In Edit game, request a small, specific change rather than “make it better.” For example:
Keep the character and artwork. When the hero touches an enemy, remove one health point and flash briefly to signal the hit. Do not change the genre. Check it on mobile.
Review the credit limit before sending. When the new version is ready, preview that exact version and test the behavior you changed. Use Generate new images if you need additional artwork.
The version list distinguishes current and published versions. Do not assume every edit is already live; check the version status before sharing.
Publish and send the play link
Once the game passes your checks, select Publish for the intended version. Open its Play link and test it as an outside player.
Share the game's public URL, not a dashboard or private preview URL. Add a brief introduction or score challenge. If the game supports result sharing, players can share wins or losses from the result screen.
“I made a mini game with Kai Creator! Can you get through the final level? 🎮 [your game link]”
A short game that works from start to finish is a strong first release. Use feedback to add levels, balance difficulty and improve artwork.